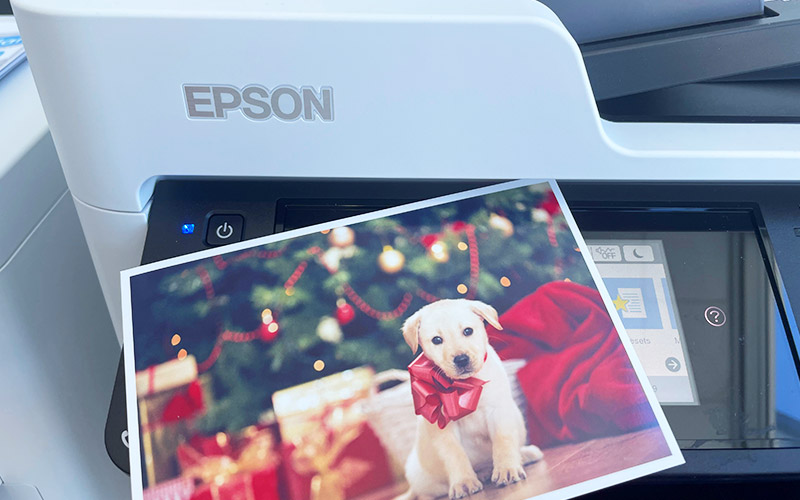
It’s the season for joy and making memories with family and friends. The perfect time to put up new photos or create meaningful gifts that wander memory lane. Did you know you can print quality photos simply from your Epson A4 printer or multifunction copier?
No need to queue up, stuff around with USBs, or outsource your photo printing this year. Epson’s A4 colour range including the C5790, C878R, C579R, and more, allows you to print all your beautiful moments with ease in the comfort of your home or office. Let’s get into how to print quality photos with Epson:
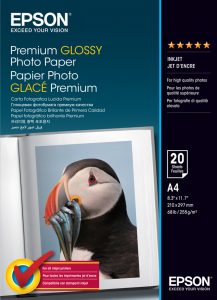
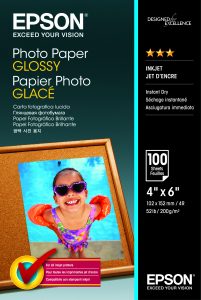
Step 1. Choose your paper
Select from a range of Glossy Epson Photo Paper for a premium finish. Choosing Epson Photo Paper means you will find setting it up with your Epson printer super easy – we’ll get to that in step 3!
Step 2. Place your paper
Place your Epson Photo Paper in the rear paper tray face-up (shiny-side up) in portrait orientation. Adjust the paper width guides to fit the paper by positioning the guides right to the edge of the paper without squishing the paper.
Step 3. Set the paper type on the Epson
Click the Paper Setting button on your Epson Printer. This button is generally located to the right of your screen.
Now on the touch screen, select ‘B’ for the rear paper tray. Select ‘Paper Size’ and scroll to select your dimensions (you can find the dimensions written on the front of the box).
Select ‘Paper Type’ and scroll to find your Epson Photo Paper type. This is the easy part as the names in the list match the name on the box, for example, ‘Prem. Glossy’ for Premium Glossy Photo Paper.
Step 4. Prepare for print
On your computer, open your image in Windows’ Photos application. This should be your default app when you double-click to open any image on a Windows device.
Use CTRL+P to open your printing menu. Set your paper tray to ‘rear paper feed’. Find your paper size and paper type, then you are ready to go.
Step 5. Hit print
Time to print! We recommend printing just one photo first to make sure all your settings are correct before printing the whole batch.
That’s all there is to it. Time to display or give away your happy holiday snaps. We are an Epson Premium Partner – Gold and our experienced representatives are always happy to chat if you need advice on how to achieve a specific project, or are after an Epson device or photo paper.
